
There are a number of reasons why tile needs to be repaired. It can be worn, chipped, or even cracked.
Cracked titles are the most pressing. They can actually cause injuries.
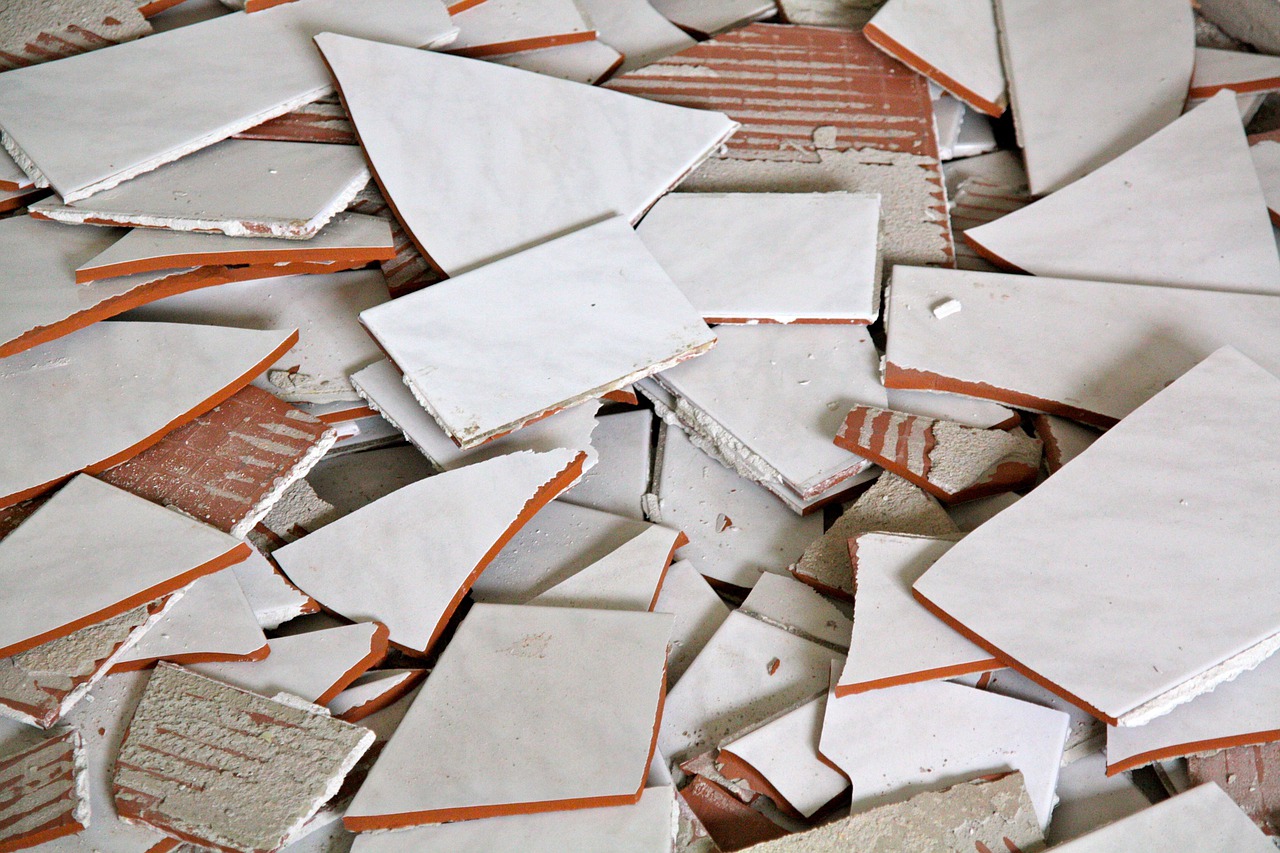
Cracked tiles can be caused by a number of factors, including dropping a heavy item on the title, having too much weight on the title, improper installation, and even manufacturing defects.
This article explains how to repair a cracked tile.
Find Replacement Tile
The first step to repairing cracked tiles is to find replacement tile. Many homeowners keep extra tiles in storage for this very reason.
If you purchased the home from someone else, you should search common areas for extra tiles. We often find these in attics, basements, garages, closets, crawl spaces, etc.
If you are not able to find extra tiles, you can visit you local tile store. They can help you find a replacement. You can also use an online app to locate the tile.
Find Matching Grout
The second step is to find a matching grout. For this, you will likely need to thoroughly clean the existing grout. We recommend using a toothbrush and cleaner and gently cleaning the area near the cracked tile.
Once you clean, you should be able to tell what color grout you need. Since many grouts are white-ish, it can be helpful to place a white item next to the grout to see the contrast. You might start with a sheet of paper. Then move to other white items that are not as bright. You can bring this item with you to your local tile supply store to order a matching grout.
Remove the Broken Tile
The third step is to remove the broken tile, mortar, and grout. The goal is to remove the tile, mortar, and grout without disturbing these materials for the adjoining tiles. This can take a bit of patience.
We recommend you start by cracking any pieces of the broken tile that are still affixed to the flooring. If you have a masonry drill bit, you can drill holes to weaken the still-affixed broken tile. The holes can be lightly and carefully tapped with a hammer to chip off pieces.
If you do not have a masonry drill bit, a flat head screwdriver and hammer can work.
The mortar underlying the broken tile should be scrapped off. A scrapper can be used for this. If you do not have a scrapper, any other flat metal tool may work as long as it can remove the old mortar and create a flat even surface.
This step also requires removing the old grout that surrounds the cracked tile. This can be done using an x-acto knife or razor blade. If the grout has hardened, you may have to carefully chip it away using a tool, such as a screwdriver.
Set the Replacement Tile
The fourth step is to set the replacement tile. To do this, you need to have mortar and a trowel handy.
There are a number of choices when it comes to mortar. Mortar should be selected based on the job and tile that is being fixed. You can look for mortars with properties like durability, bond strength, flexibility, moisture resistance and how easy it is to work with. A commercial tile in a high foot traffic area will requires a different mortar than a softer clay tile in a residential setting.
The trowel should be a notched trowel. This is one that has grooves in it to so that it makes ridges in the mortar as you spread the mortar over the subfloor where the replacement tile is to be set.
The task here is to spread the mortar evenly across the subfloor with the ridges created by the trowel being even. Depending on space, you may have the ridges run parallel or in a circular pattern. The ridges help add space for the mortar to collapse and fill in as you set the tile. So the pattern is not critical. It’s just critical that we have ridges to allow this process to happen.
Once the mortar is in place, you can set the replacement tile in place. You should look for spacing and use a level to make sure that the new tile is level.
Apply Grout for New Tile
The fifth step is to apply grout for the new tile. The goal here is to fully fill the gaps in the tiles while not leaving excess grout visible on the tiles.
Be sure to read the manufacturers instructions on how to install grout as the products can have varying compositions that can change these instructions.
With that said, generally, we recommend using an applicator or the tube that is the grout packaging to apply the grout. This helps get the grout in the tight spaces between tiles.
Once applied, a sponge with warm water can be used to remove the excess grout. You have to be careful not to scratch the tiles in the cleaning process, which can happen if there is debris on the tiles or sponge.
The grout should set for a day or longer to dry. You can then test the tile by pressing on the corners to see if the tile is fully set and the tile is sturdy.